
I attempted to make art.
Published:
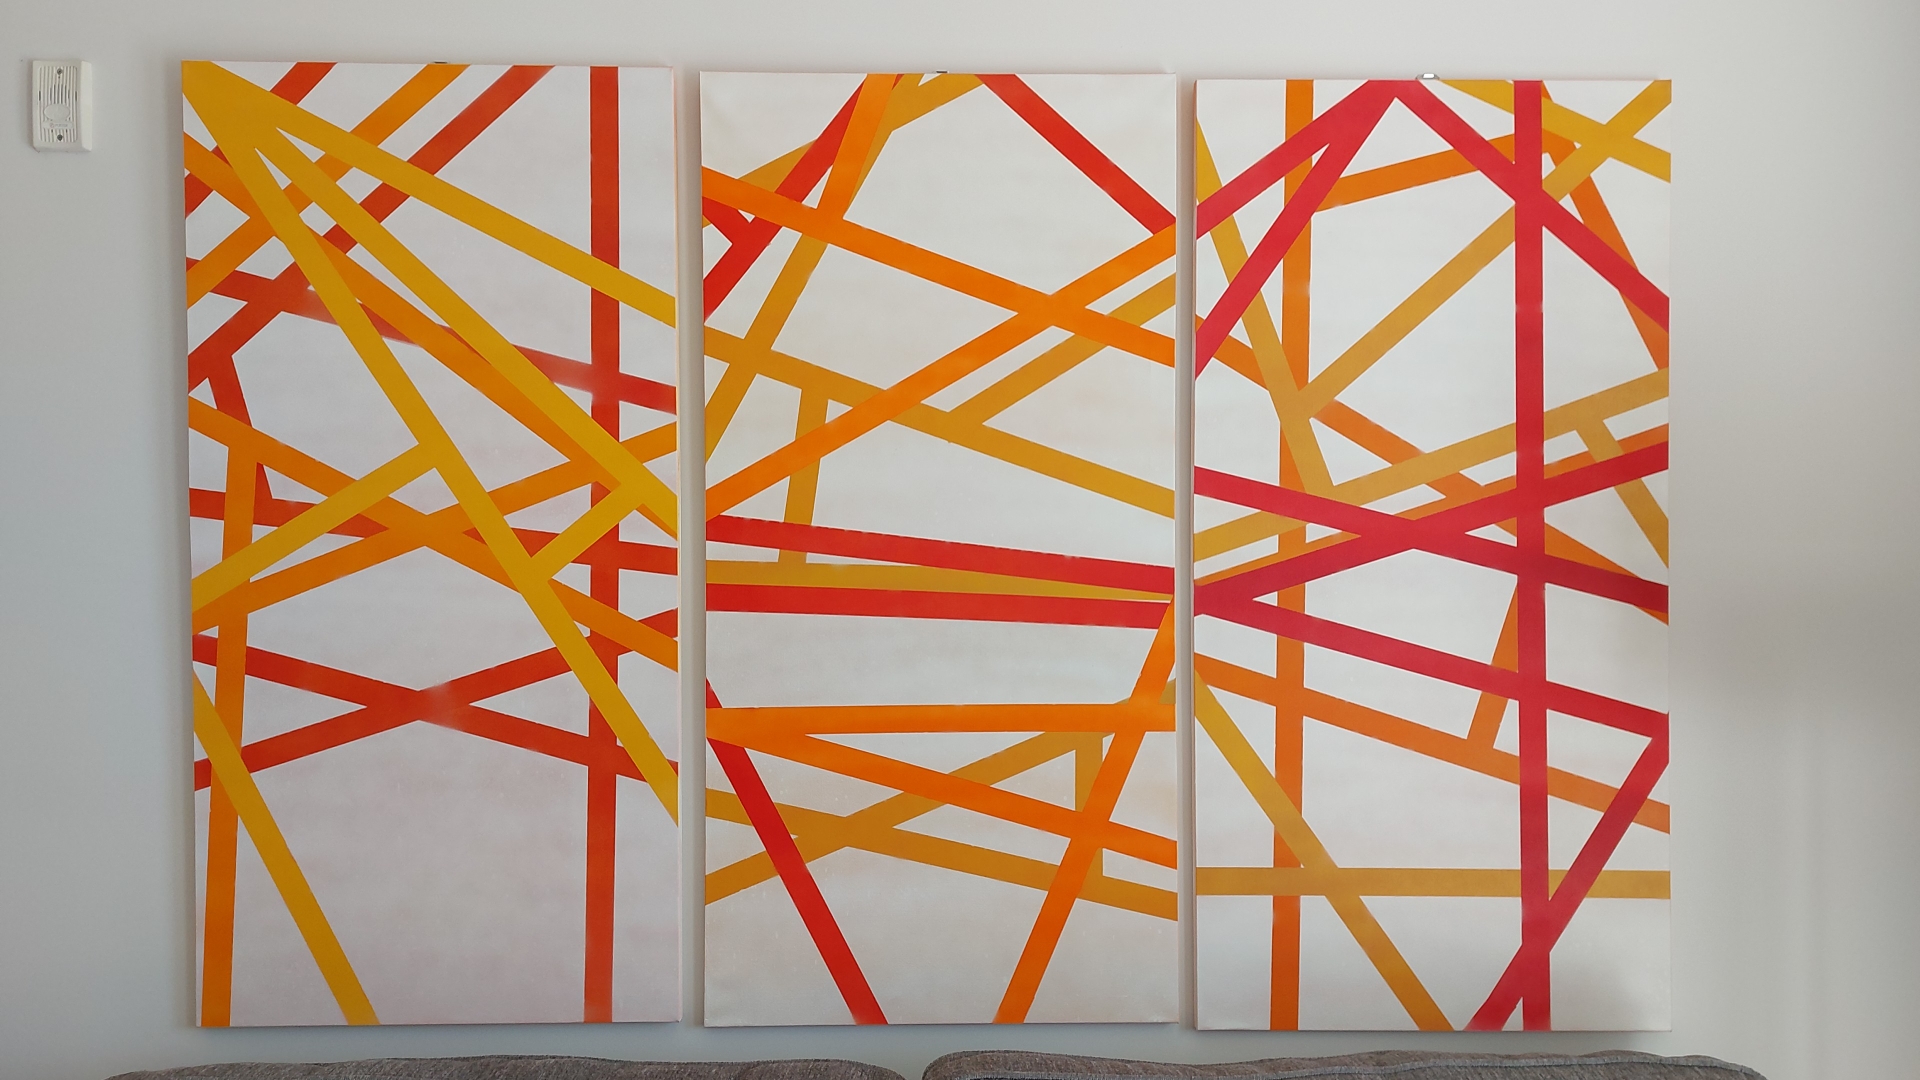
It’s amazing what you can do with some canvases, spray paint, and tape.
Background
I had spent about a year looking for some artwork to put above my couch, but I never found anything I really liked. I wanted something that was either abstract or nature-y, and I wanted it to feature a decent amount of red. One day, YouTub recommended me a video of someone recreating Eddie Van Halen’s iconic Frankenstrat and I thought “Why not try for myself?”
The Process
This was a pretty straightforward project, although that’s mostly because I was fortunate enough to have access to a space where I could spray paint and just make a mess in general. I bought canvases, painter’s tape, and spray paint of the following varieties: red, orange, yellow, white, and clear coat. I went with those colors to go for an “Autumn Leaves” vibe.
The next step was to decide the order I wanted the colors to be layered. The first color you put down will be on top of all the rest. I decided to have a different order for each canvas, just for some extra variety.
There are a million spray painting tutorials online that know better than me, but here is what I kept in mind when spraying:
- Shake the can for about a minute before starting, and shake frequently every couple of seconds when spraying.
- Leave some space between you and your painting surface (your can should tell you just how much space to have).
- Start and stop spraying outside the edges of your painting surface.
- Try to have a 50% overlap as you go down your painting surface.
I put down about two or three coats of color each round. I basically emptied th cans I bought and I wish I had done more coats. (see the Mistakes section for more…).
The next step after the color layer dried was to put down painter’s tape. I mostly stuck with straight lines from one edge of the canvas to another. You want to make sure that the tape is firmly pressed down before spraying on the next layer (see the Mistakes section for more…). I repeated this process of spraying a color and laying down tape, and left the tape on until after I had sprayed my final “background” color (white).
Once I had sprayed my final color and it had dried completely, it was time to peel away all of the layers of tape. Fortunately, I had a lot of excess tape past the edges of the canvas so it was easy to find places to start peeling. I mostly worked from the back and edges of the canvas toward the center. I made sure to do this carefully, just in case the tape was going to lift any paint (fortunately, that did not happen).
After I removed the tape, I decided to put down a few layers of clear coat. I’m not sure this did anything besides cause some of my previously neat paint lines to run a bit (womp womp).
Learn from my Mistakes
Here is a small collection of the things I wish I did differently.
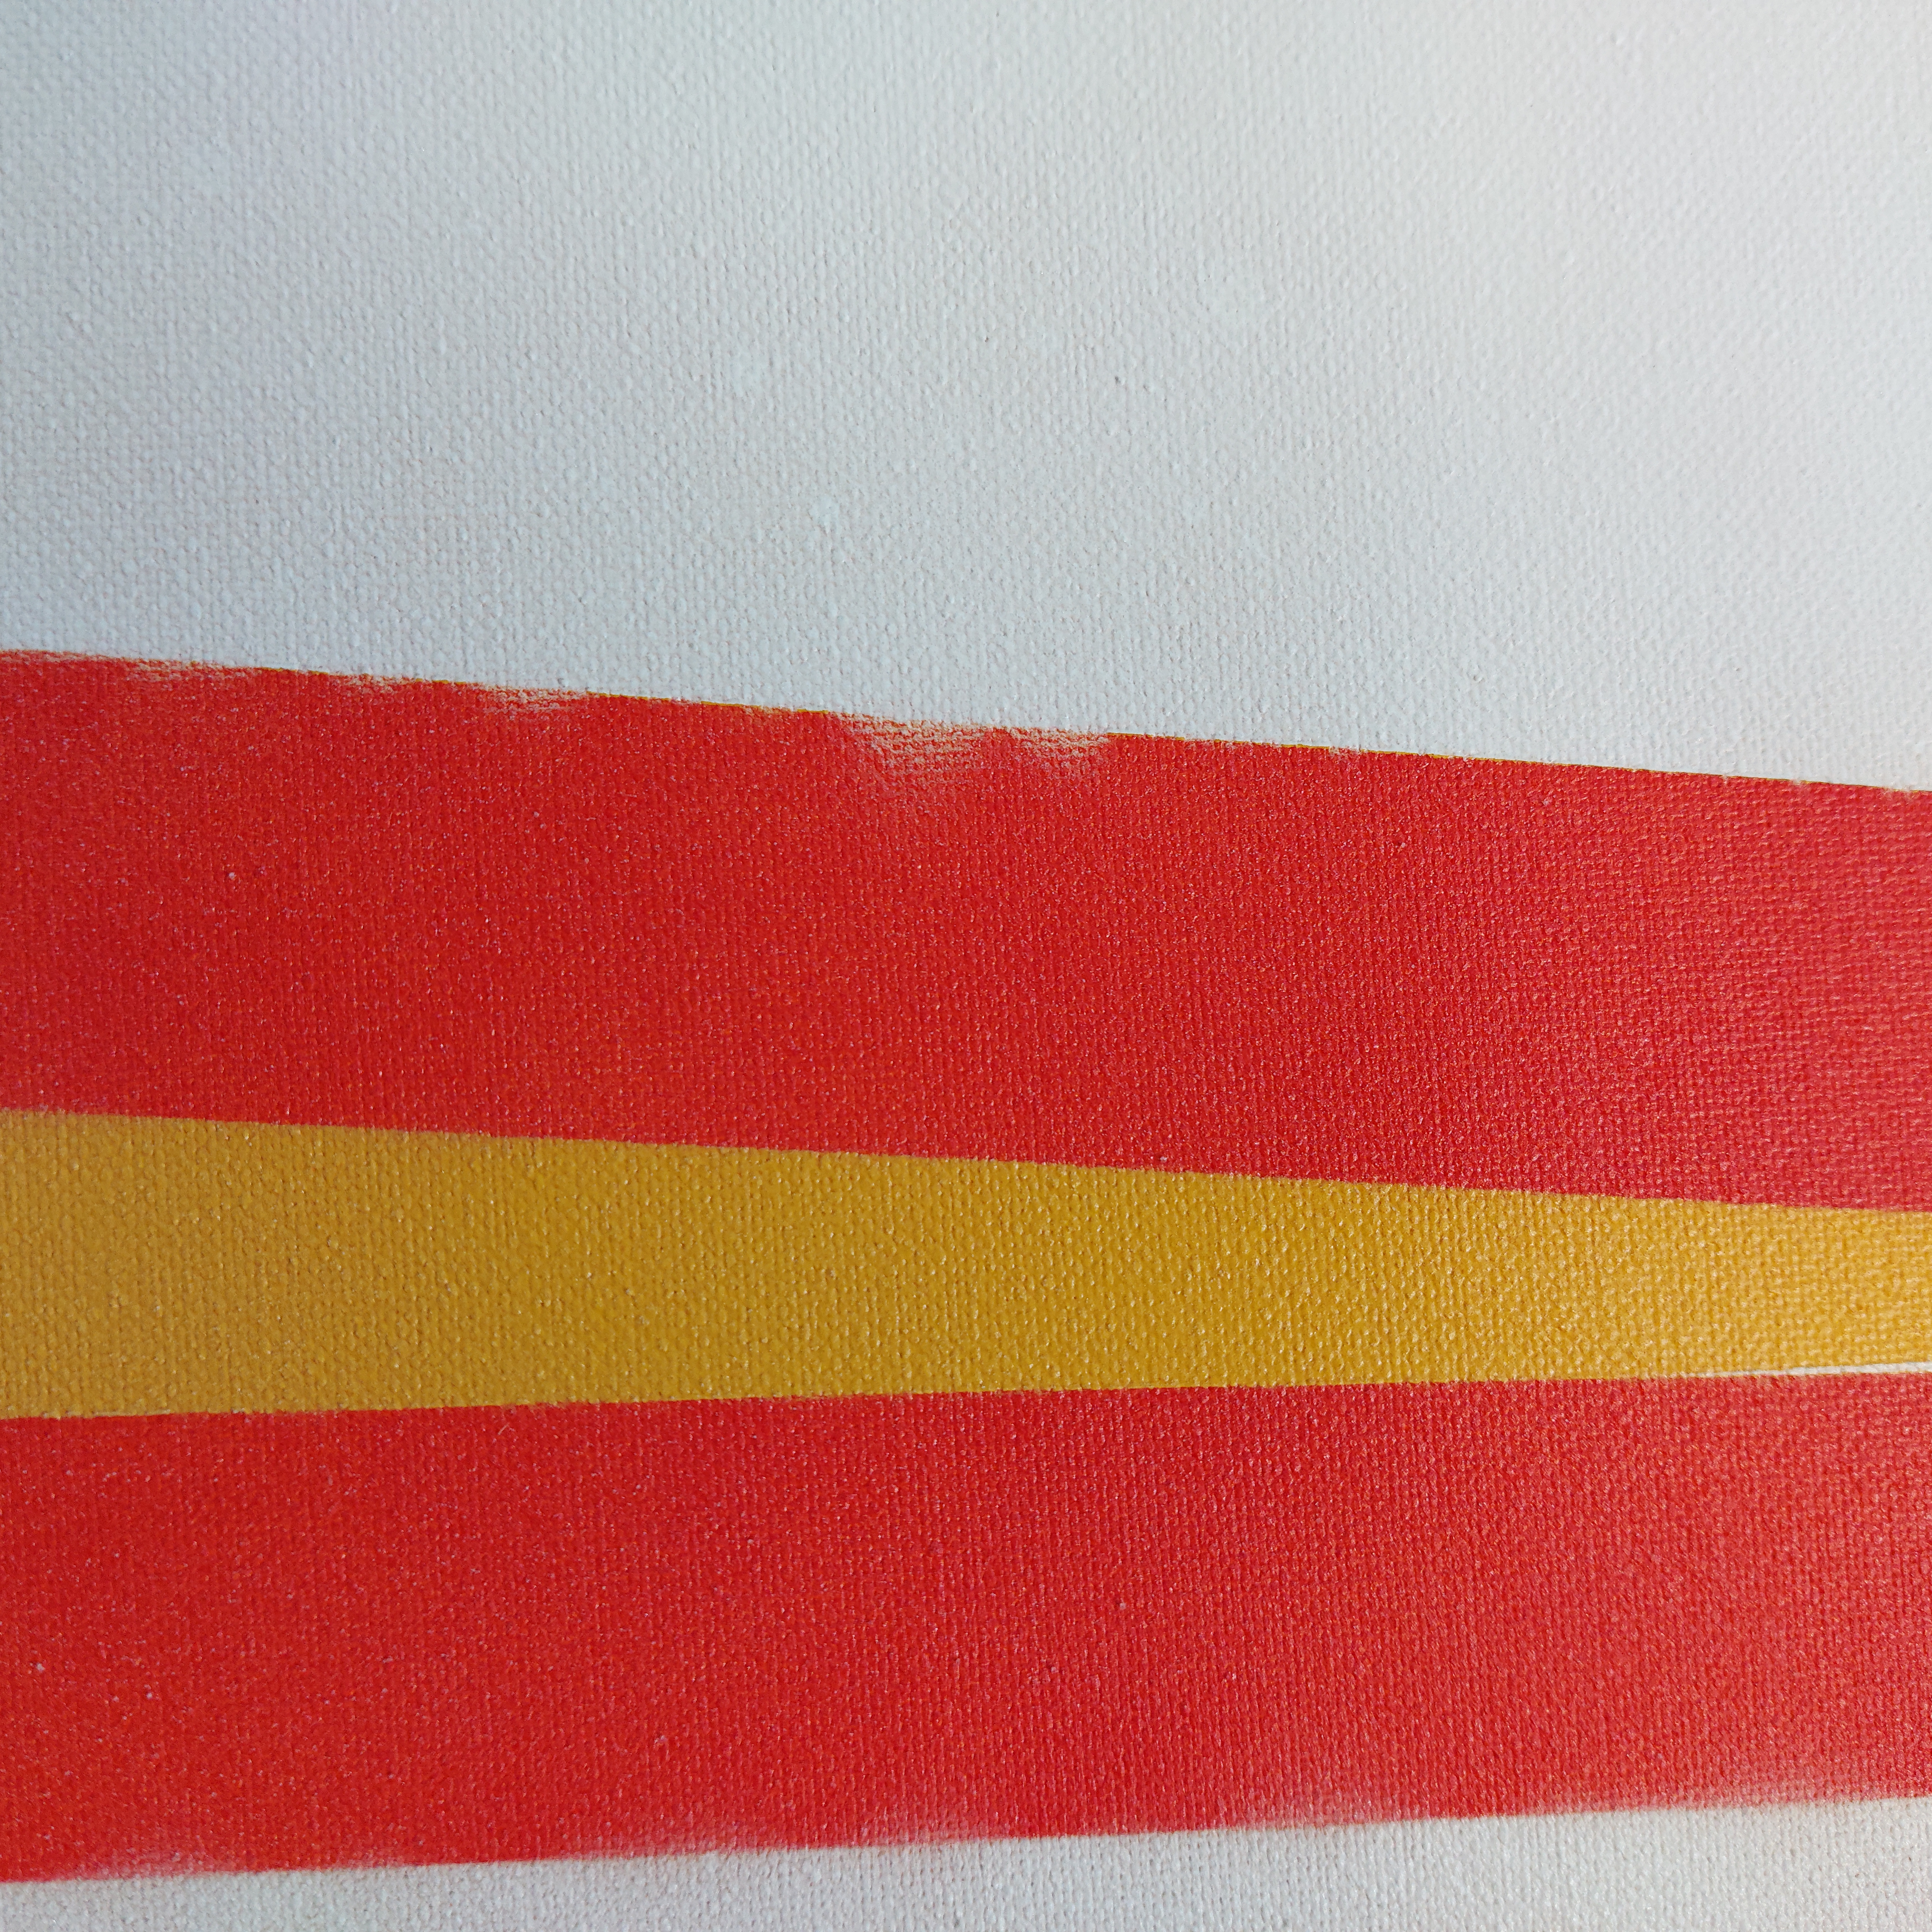
A picture of bad spray paint coverage on a canvas. For each of the colors, I bought three cans of spray paint. I wish I had gotten at least four cans for these three eight square feet canvases.
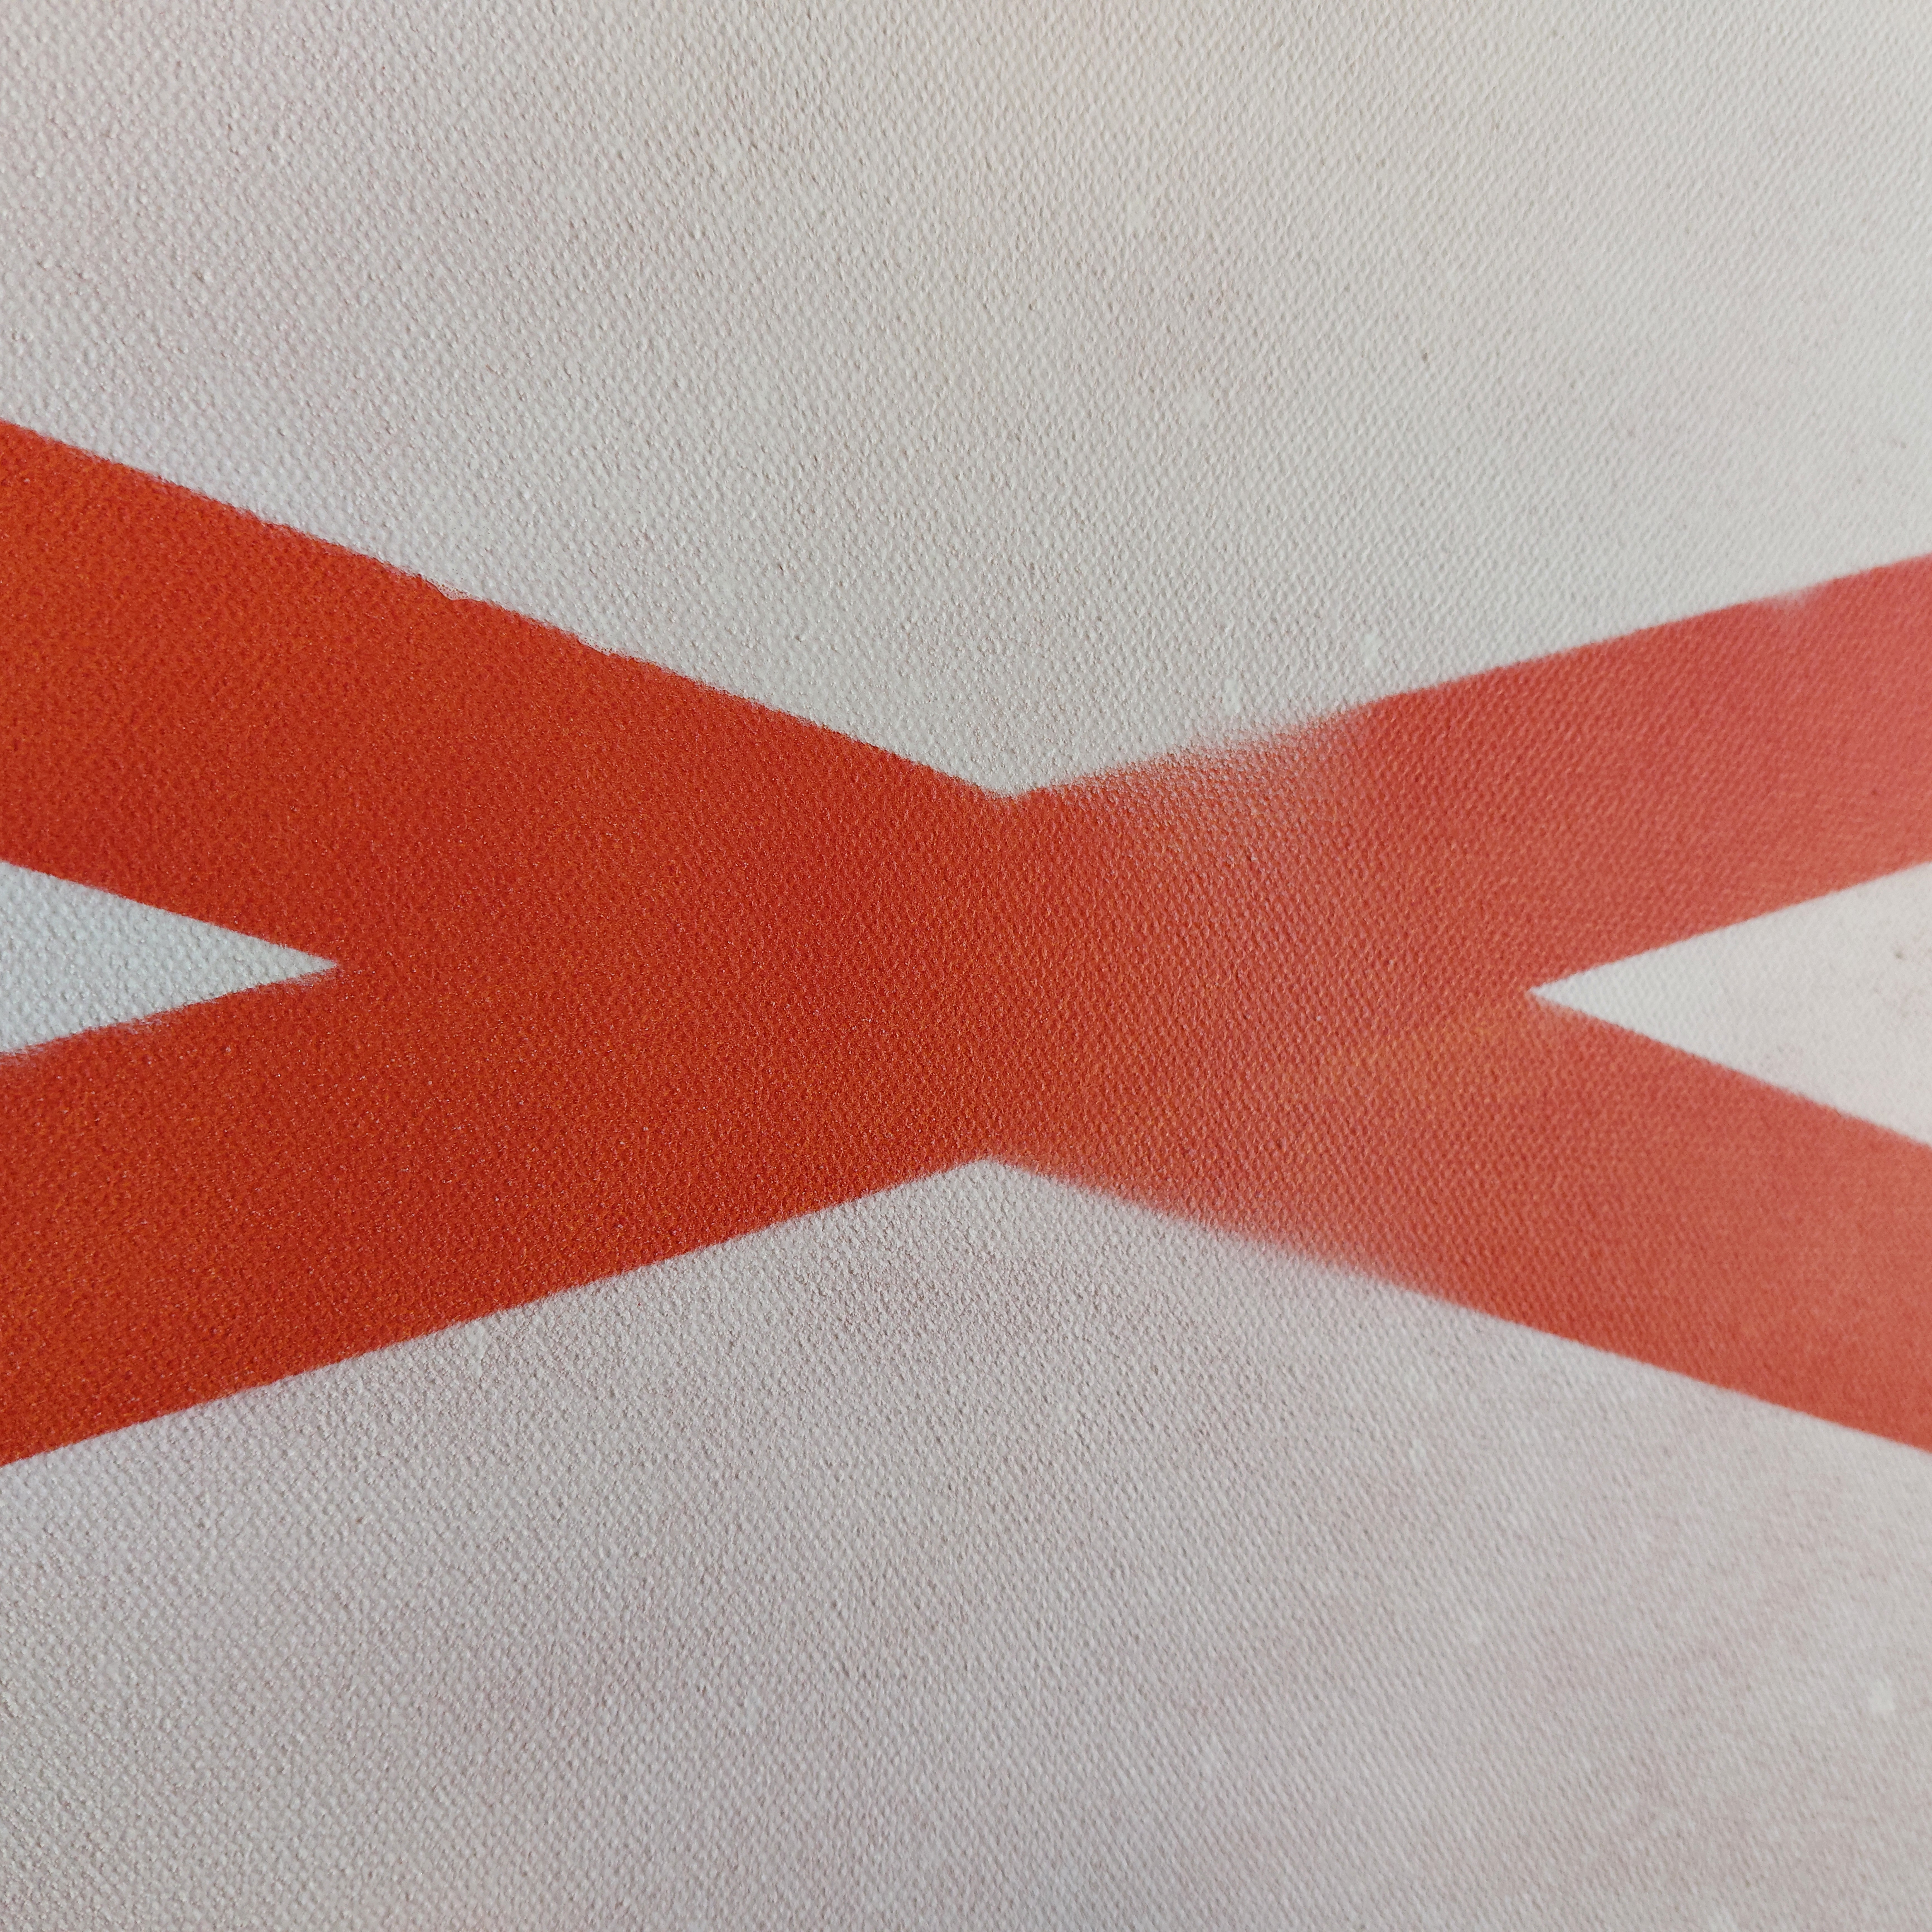
A picture of bad painter’s tape placement on a canvas. This is what happens when your tape is not properly adhered to your painting surface.
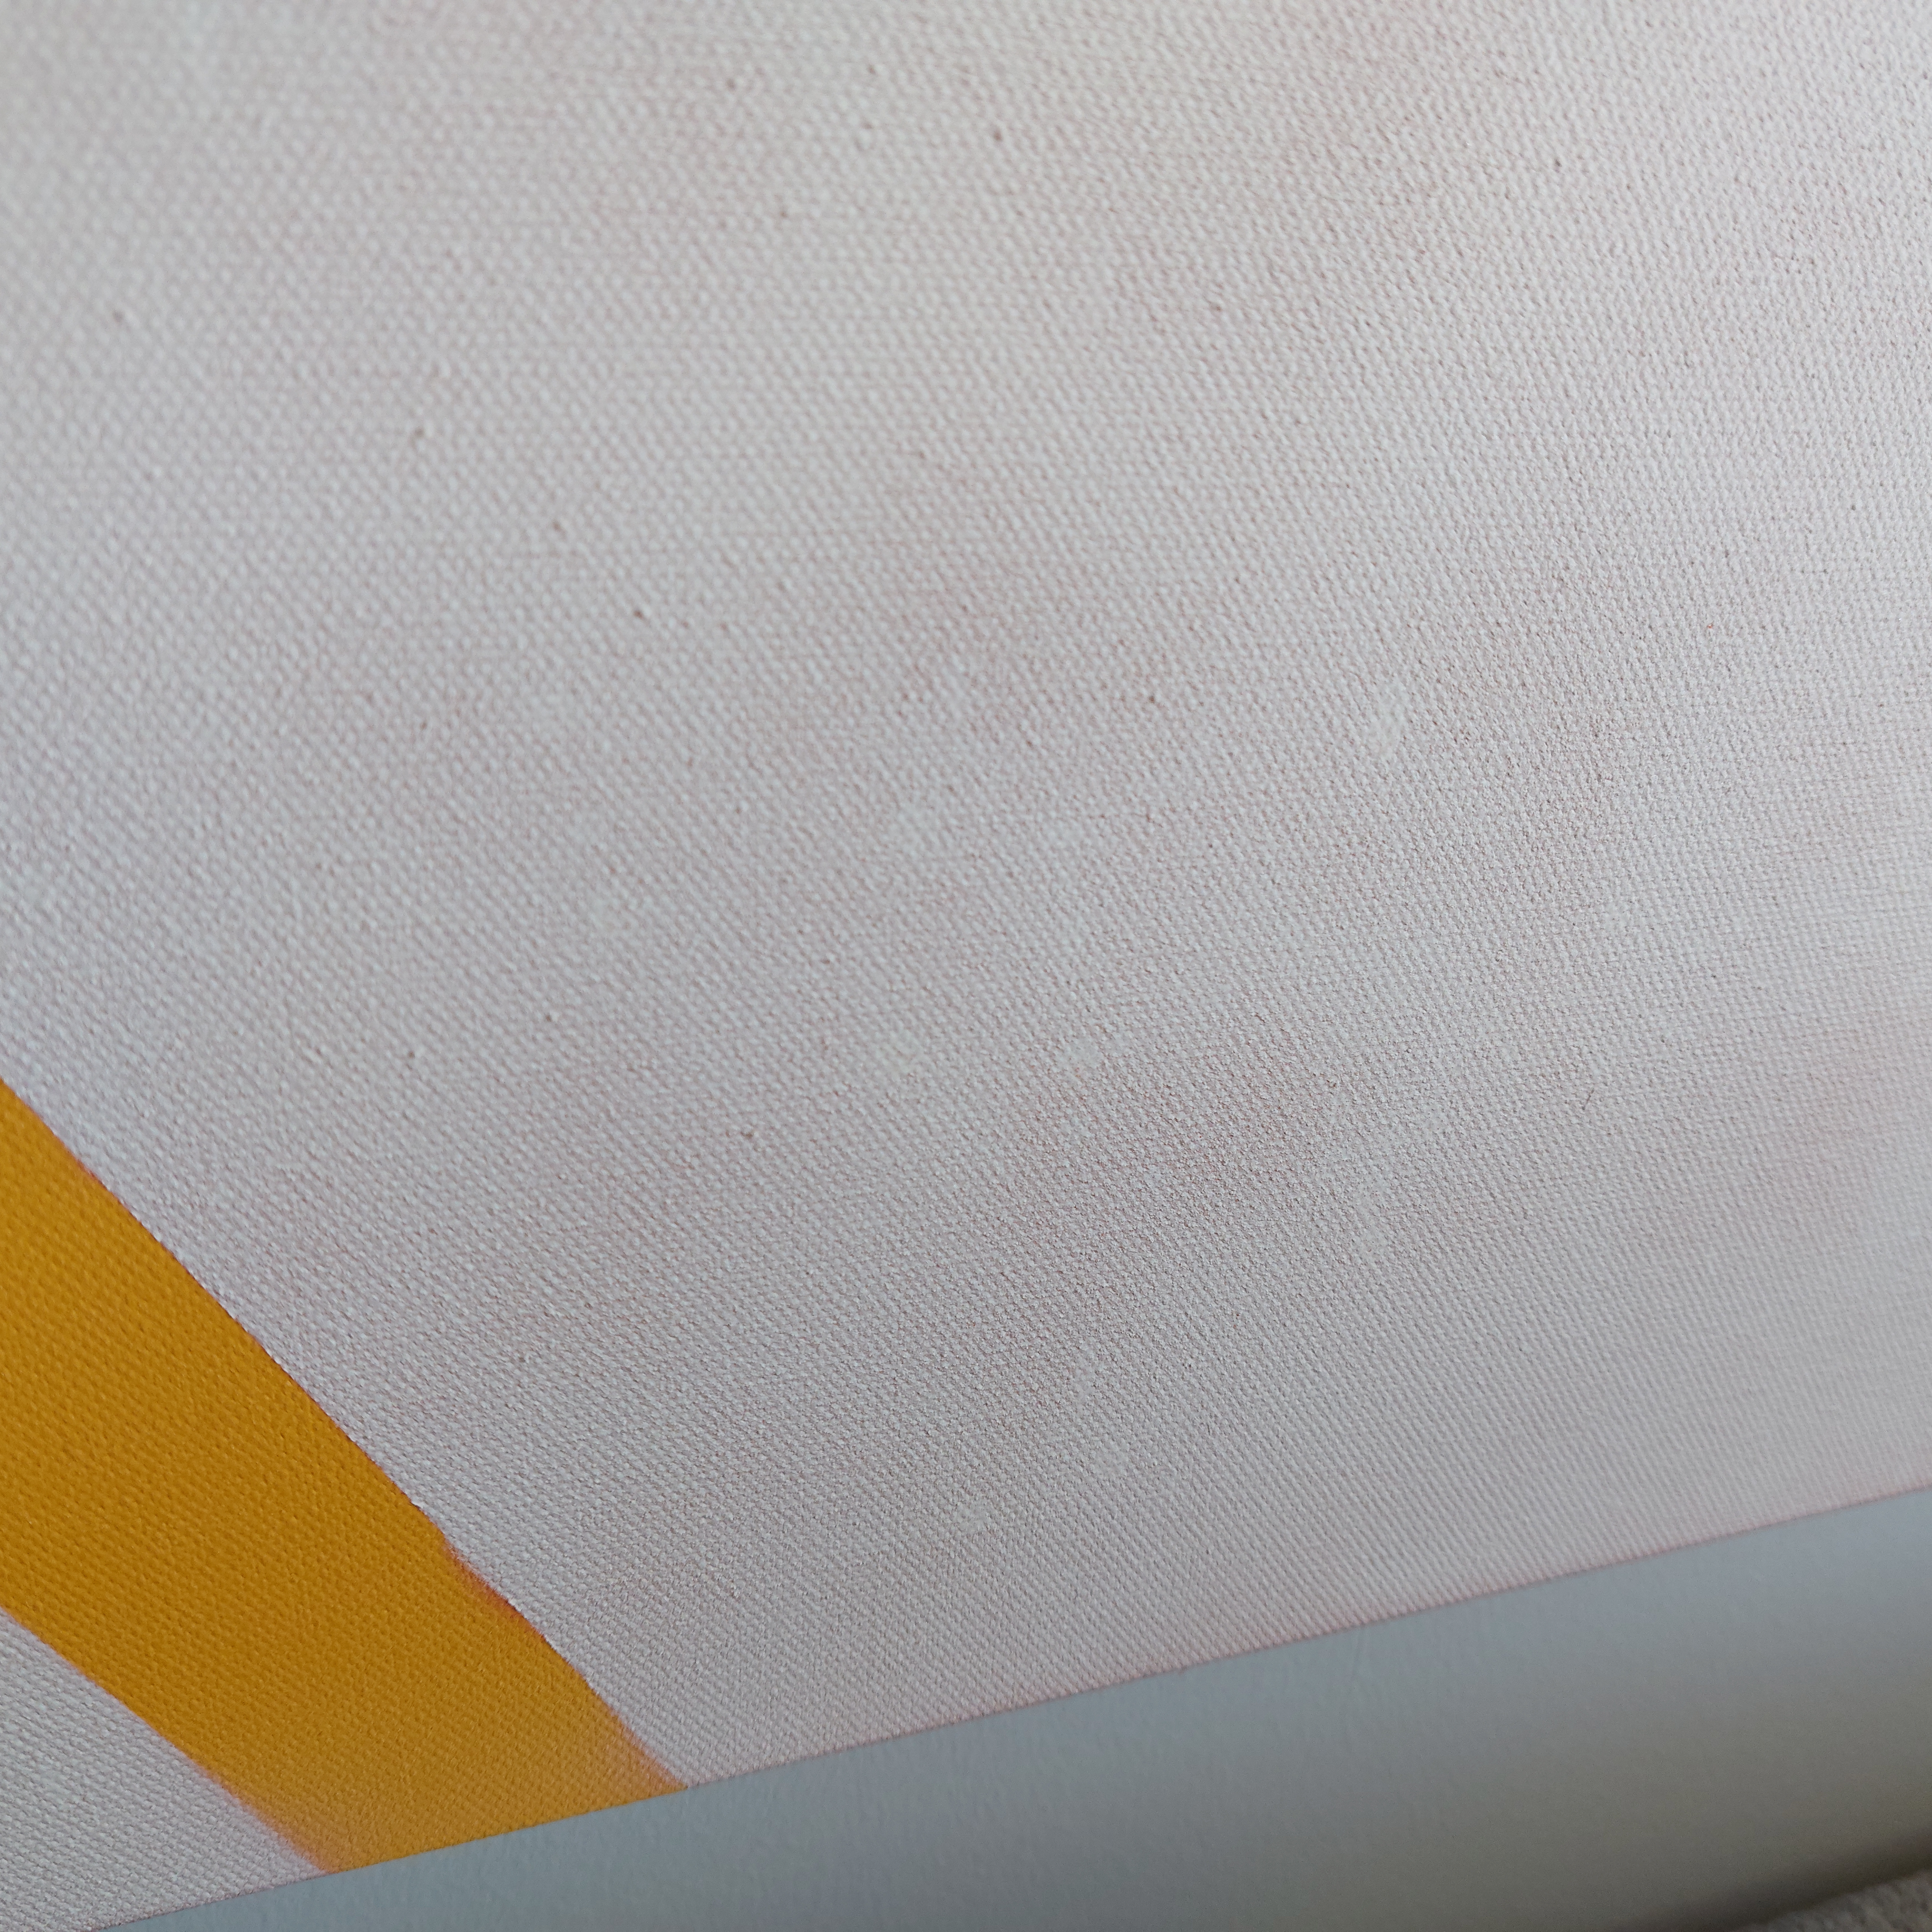
A picture of the aftermath of splotchy spray painting on a canvas. The white can of spray paint was extremely inconsistent with its spray pattern, and I ended up with some dots on the canvases.